You’ve heard of Yuzu, but Cheong is the Korean secret. This fragrant, tangy Citron Cheong Fruit Syrup is Korea’s best defense against a winter cold. It takes patience, but trust me, it’s worth it. Of course, only a specialist can give you a real diagnosis, but knowing how to make this delicious home remedy could make all the difference.
What is Cheong, Anyway?
The critical point here is understanding that Cheong isn’t just jam or marmalade; it’s a centuries-old Korean method for preserving fruit, often used to create a medicinal or warming tea. You take Yuja (or citron), an intensely aromatic, sour citrus fruit, mix it with sugar, and let time work its magic.
Many people don’t realize that in Korea, particularly when the weather turns cold, Yuja Cheong is basically a staple. We whip up a spoonful with hot water for Yuja-cha (citron tea), which is packed with Vitamin C—a natural boost for your immune system. It’s sweet, floral, and bright enough to instantly lift your mood. It’s one of those things that just feels like home, especially when you’re under the weather.
The Most Important Rule of Cheong: Don’t Rush
Making a perfect, shelf-stable citron fruit syrup is actually an exercise in patience and precision. The most common misconception is that you can just toss everything together. Here’s what actually happens: if you skip one small step, like proper drying, your entire batch could go bad, turning moldy instead of beautifully preserved.
I remember when I first tried to make Cheong, I thought, “How hard can washing a fruit be?” and I ended up having to throw out half the batch because I left a tiny bit of moisture. The success of this Korean tonic rests on two enemies being completely eliminated: water and seeds.
Getting the Ingredients Right
Finding fresh Yuzu can be tricky here in the States. You might have to hit up an H Mart or an Asian market, especially during the fall/winter season (September to November). If you can’t source fresh ones, you can use yuzu juice concentrate, but you’re going to miss that textural bite and intense fragrance from the zest.
- Fresh Yuzu: 1 kg (about 10–12 medium fruits)
- Sugar: 900g to 1 kg (The 1:0.9 ratio is highly recommended for a deeper, tangier flavor.)
- Optional: A few spoonfuls of honey.
Before you start, you must sterilize your jar. Boil it upside down for 3–5 minutes, then let it air dry completely. Don’t wipe it with a towel—you don’t want any stray fibers or moisture.
The Three Non-Negotiables for Perfect Yuja Cheong
Getting the fruit ready is the longest, most important part of this process. It takes time, but don’t try to shortcut this.
1. The Deep Clean
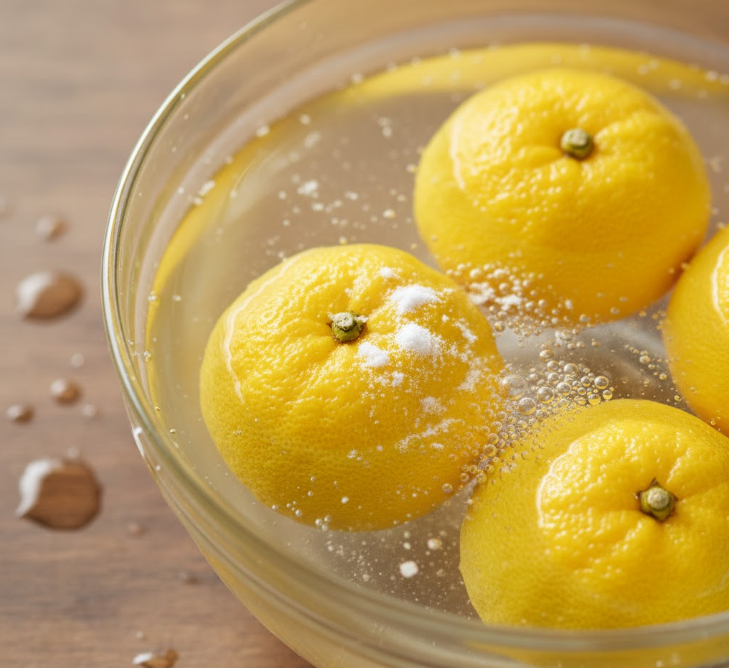
Yuzu skin is bumpy, and since you’re using the entire rind, cleaning has to be meticulous.
- Soak the yuzu in a bowl of water with 1 tbsp of baking soda for about 30 minutes. This helps loosen any gunk.
- Next, gently scrub the entire surface using a soft brush or even just your hands.
- Finally, grab some coarse salt and rub the fruit under running water. This removes wax and makes sure the bumpy surface is truly clean. Rinse it thoroughly 3 to 4 times.
- Crucially: Dry them completely. Use a clean kitchen towel to wipe them down, then let them air-dry for a couple of hours. Remember, water is the enemy!
2. Seed Removal—The Tedious Truth
Yuzu has so many seeds! They can easily carry a bitter taste into your final product, so you really can’t leave even one behind.
- Cut the yuzu horizontally (around the equator, not stem to end). This makes the seeds easier to pop out.
- Squeeze the juice into a separate bowl.
- Use a pointed teaspoon or a small fork to carefully dig out all the seeds. Seriously, check twice.
- Slice the remaining rind into thin matchsticks, around 0.5 cm thick. They shouldn’t be too thin (like lemon slices) or too chunky.
- If you have time, you can also scrape off the thick, white pith inside the rind—it’s bitter.
- Combine the sliced zest, the pulp, and the strained juice.

3. Mixing and Sealing the Deal
Now for the fun part: mixing the fruit with the sugar.
- Toss the combined yuzu materials (zest, pulp, juice) with most of your sugar (about 90% of the total amount).
- Gently mix it all together with your hands for just a minute or two. You want the sugar to start dissolving into the juice.
- Let the mixture sit at room temperature for about 30 minutes to allow more juice to release.
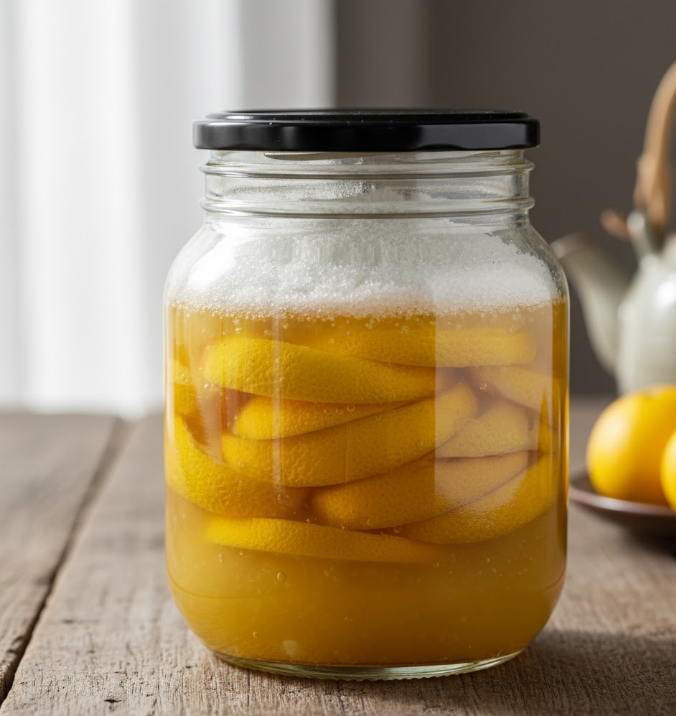
- Transfer the mixture to your clean, dry, sterilized jar, packing it down firmly. Only fill the jar about 80% of the way.
- Take the remaining sugar (the 10% you set aside) and create a sugar blanket over the top. This acts as a protective seal against air and mold. Sometimes I even drizzle a tablespoon of honey on top of the sugar blanket, just to be extra sure!
Storage and Your First Yuja-cha
You’re done with the hard work. Now the magic begins.
Leave the jar at room temperature for the first 2 to 3 days. This helps the sugar dissolve into a thick syrup. You should open the lid once or twice a day to give it a gentle stir with a clean, dry spoon.
After the third day, it’s time to move it to the refrigerator.
The best flavor develops after about two weeks of chilling, though some people swear by three weeks. It really depends on your palate—and that’s okay! It will generally keep in the fridge for 3 to 6 months.
You’ll know what’s best for you, but if you want to elevate your home drinks:
- The Classic: Mix 2–3 tablespoons of Citron Cheong with hot water. Hello, Yuja-cha!
- The Refreshing Twist: Mix a spoonful with club soda or sparkling water for a bright summer cooler.
- The Culinary Edge: Use the syrup as a glaze for chicken or fish, or whisk it into a vinaigrette for a tangy salad dressing.
The truth is, this sweet-tangy syrup is surprisingly versatile. Once you know how to make it, you’ll find yourself reaching for this Korean-style fruit syrup way more than you thought possible.
I know you’re busy and tired. But setting aside a weekend afternoon to make a jar of this stuff is an investment in your well-being. How do you feel about making your own homemade Korean tonic this year?